

How To Change Color Of Image In Gimp
Text and images Copyright (C) 2002 Eric R. Jeschke and may non be used without permission of the author.
Intention
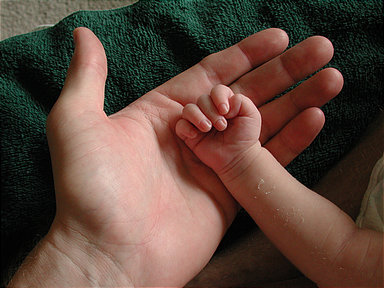
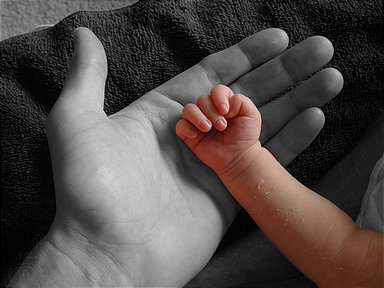
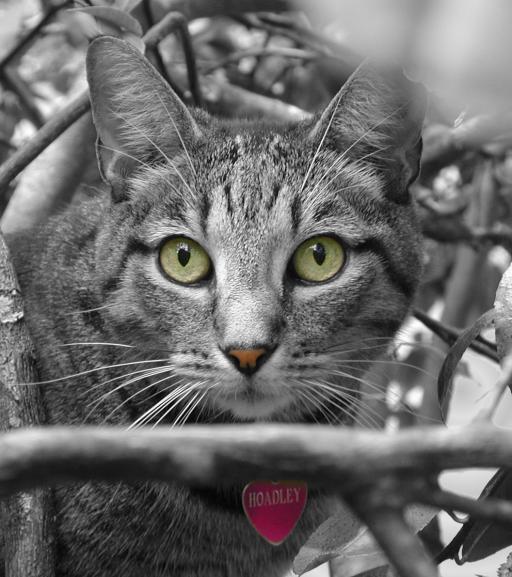
In this tutorial I will explain how to catechumen a colour photograph to a B&Westward one with color restored to selective areas. With the correct subject this can give really striking results, as you can see for yourself. This technique is elsewhere referred to sometimes as "mitt coloring" :-)
The basic technique is to duplicate the color photograph, convert the indistinguishable to B&W, and paste it as a new layer on peak of the color image. Add an opaque layer mask then selectively paint transparency into the upper mask, exposing the colour photograph underneath.
Giving credit where credit is due: I did not come up with this method. I adjusted it for GIMP from a reader comment I saw in a "mitt-coloring" tutorial on photo.net (great web site past the style, I recommend it).
The Process
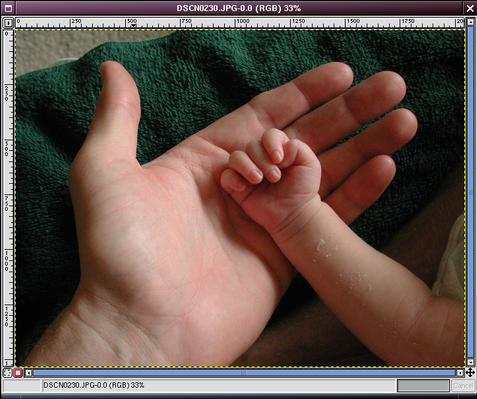
Here is the original example image, loaded into GIMP.
Step 1
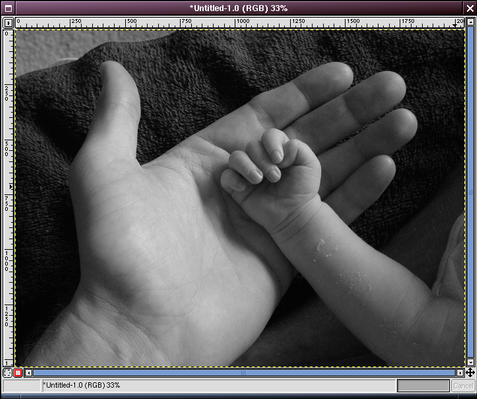
Indistinguishable the paradigm (Ctrl+D). By whatever method suits you best, catechumen the duplicate image to B&W. Once you have gotten the B&W version that you lot like, change information technology back to RGB mode (Paradigm → Mode → RGB).
In this example, I tried the channel mixer, but ended up in this instance preferring a simple conversion to grayscale (Epitome → Mode → Grayscale), then back to RGB.
Step ii
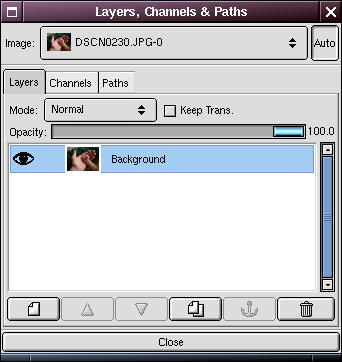
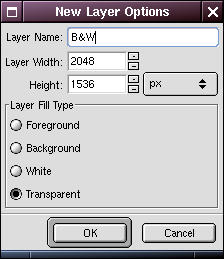
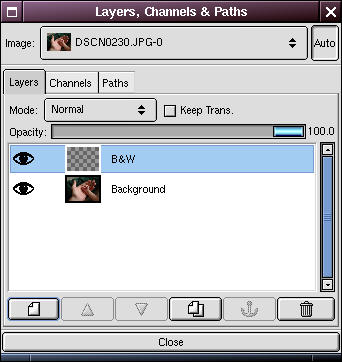
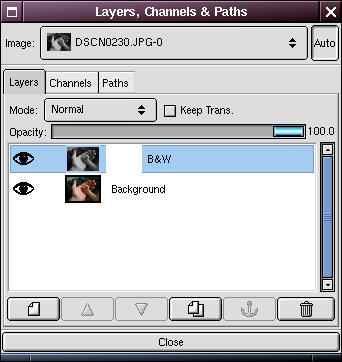
Open the Layers dialog (Ctrl+L). Make sure that the original color epitome is selected in the Image drop down box. Click on the new layer button at the bottom of the dialog. Here I've named the new layer "B&West" Brand sure the new layer is selected in the layers dialog.
Step iii

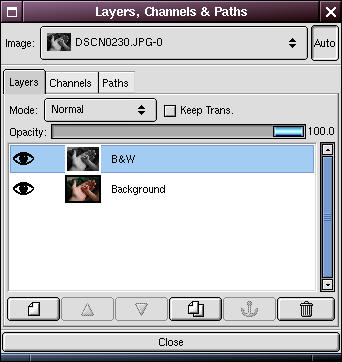
Go to the B&West image and select all, then copy (Ctrl+A and then Ctrl+C). Then go to the color image window and paste (Ctrl+V). The B&Due west paradigm should exist pasted into that layer, obscuring the color image. Click the ballast button in the Layers dialog to anchor the pasted paradigm. You can close the B&Westward image window you just copied from now, if you want.
Step 4

In the Layers dialog, right-click on the B&Due west layer and select "Add Layer Mask". In the Add Mask Options dialog, select White (Full Opacity).
Step v
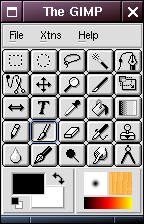
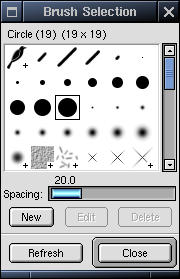
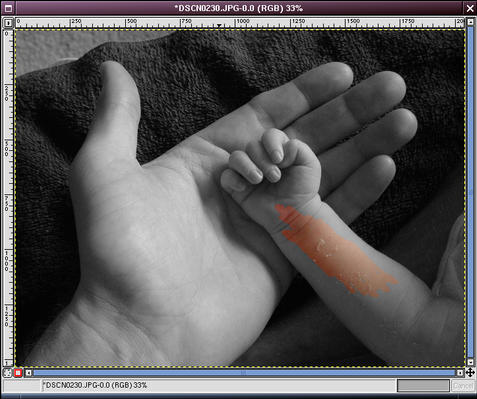
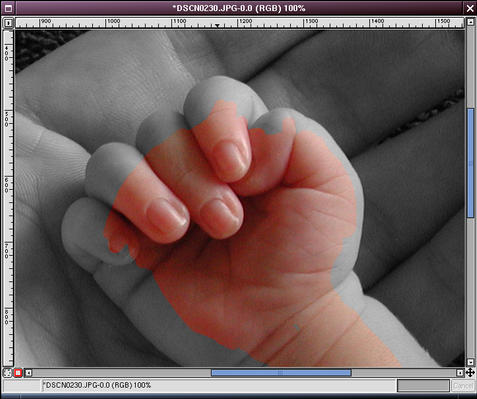
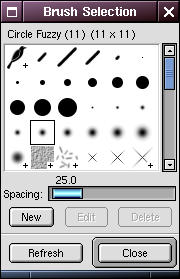
Make sure that Black is selected as the foreground colour in the toolbox. Nosotros're going to paint transparency into the layer mask to reveal the color image beneath. Bring up the Brushes dialog (Dialogs → Brushes) and select a big castor. In the toolbox, select the paint tool ( ). Begin painting the interior of the parts y'all want to be in color.
Pace six
When yous get to the edges of the colored function, zoom in to make life easier.
Step seven
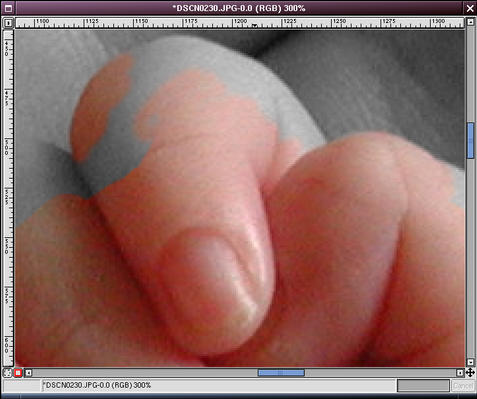
At the very boundaries of the colored image I typically zoom in to 300% or then. Switch to a modest, feathered brush and very advisedly paint the edges.
If you lot only pigment a petty at a time information technology makes information technology much easier to utilize GIMP'due south fantabulous disengage characteristic if you accidentally stray outside the boundary. If for some reason you can't undo, don't worry: just switch to white paint and paint opacity back over your mistake to repair the mask.
Final Footstep
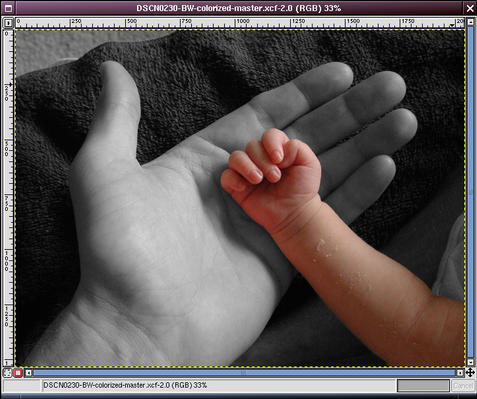
When your all done, go over the colored part carefully to see if in that location are any gray (opaque) specks that you missed. And then zoom out and have a look. Voila!
Tips
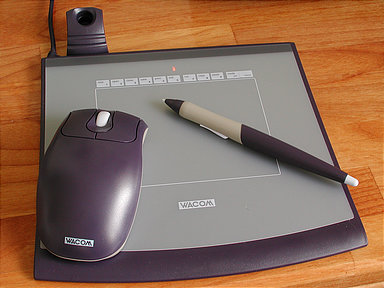
- For this kind of fine pigment work, a pen tablet like this Wacom one is very useful. For photo retouching you don't need whatever bigger than a 4x5 model.
- In this instance I restored the original colour from the color epitome, but there is no reason that you couldn't paint other colors onto the 2d layer. Just make sure that the image is selected and not the layer mask in the upper layer of the Layers dialog (click on either the image icon or the mask icon to select the one you want to work on).
- Try blurring the lower colour layer, or running one of the interesting "artistic" filters on it (pastels, oil painting, etc). Y'all probably desire to exercise this before you create the B&W re-create.
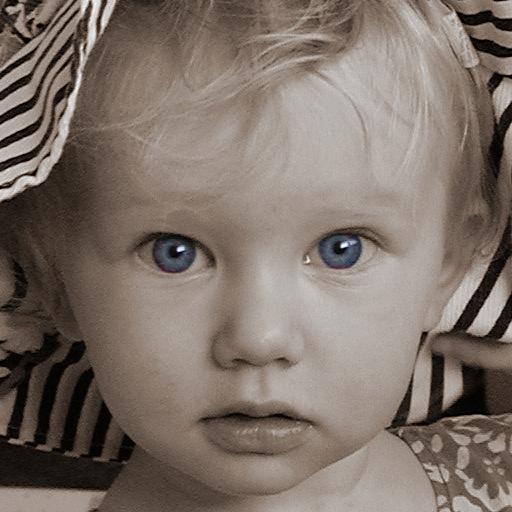
Other Examples
Further Reading
- a "hand-coloring" tutorial on photo.net
The original tutorial used to appear on gimpguru.

Source: https://www.gimp.org/tutorials/Selective_Color/
Posted by: millercallynnusers.blogspot.com
0 Response to "How To Change Color Of Image In Gimp"
Post a Comment